
Lately a friend asked for help on starting with Arduino programming in Eclipse. It is not that difficult, but there are some steps, that could cause problems. So lets do it step by step.
Download
First of all go to eclipse.org, click download and follow the links until you download something like eclipse-inst-win64.exe. The current link is this, but that could change over time, so if it does not work, follow the links on the website.
Install
Depending on the location, where you want to install Eclipse and the system you are using, you may need to start the installer in Administrator Mode. After starting the Installer, just follow the steps to install the C++ Edition and accept the license agreements. See the screenshots for help.


The next thing to install is the Arduino Plugin from the CDT-Team. The URL for the update site is http://download.eclipse.org/tools/cdt/releases/9.2 but it should be already in the list. First click on Help -> Install new Software .., then select the correct update site. The list below will update itself and then select the CDT Optional Features - Arduino C++ Tools. Click Next and follow the steps. Don’t forget to accept the license agreements.


Setup
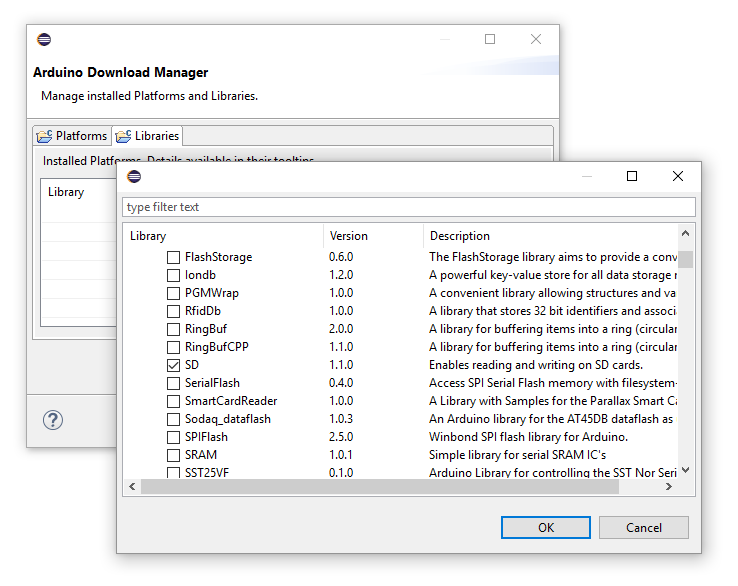
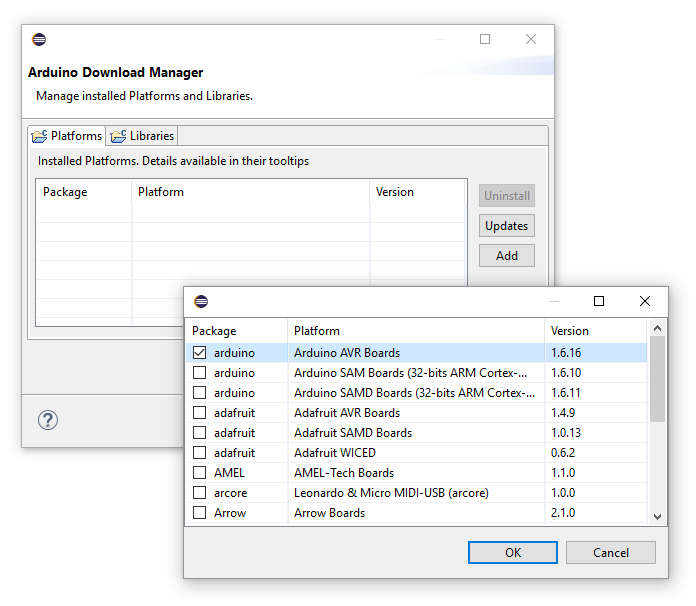
Now that everything is installed, we need to set up some libraries and environment. The Arduino Downloads Manager is a little bit hidden. You can find it in Help -> Arduino Downloads Manager. Once opened you can add Platforms and Libraries via the Add button. In my case I need the Arduino AVR Boards, this is for the Arduino Uno and Nano boards. You need at least one Platform to compile code and the Libraries is dependent on what you need in your project.

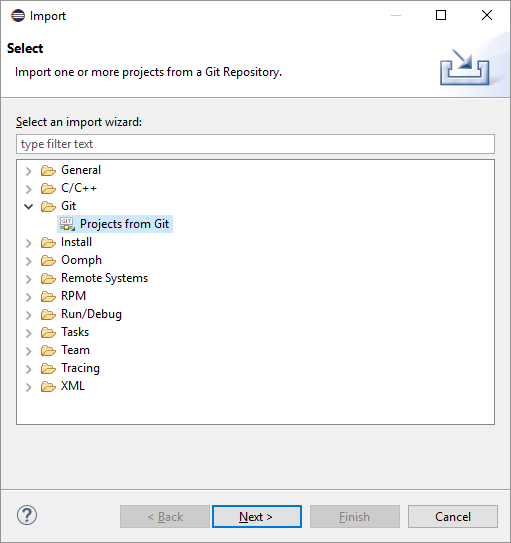
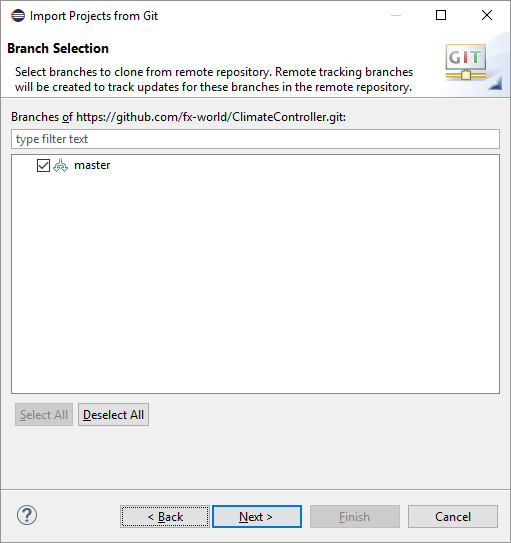
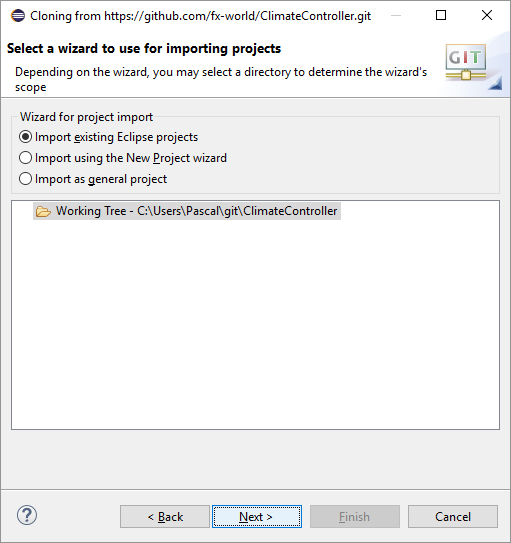
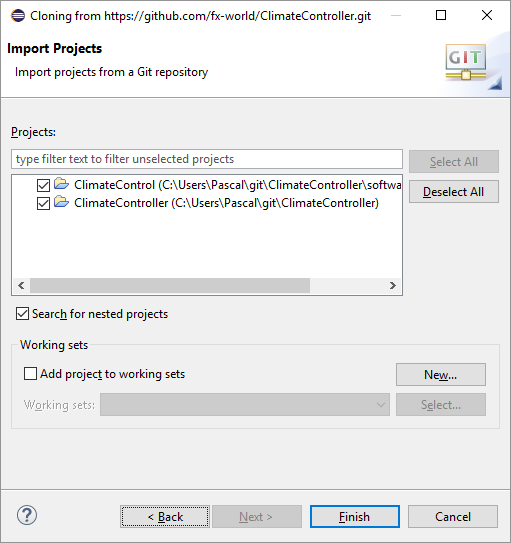
Now we just need a project to work on. You can checkout or create a project. I will checkout an existing project of mine from GitHub called ClimatController. A new project is created by File -> New -> Project... and an exiting project is imported by File -> Import... . Select Git -> Projects from Git and follow the wizard. On the Import Project site select the checkbox for Search for nested projects.


When the import is done, you just need to create a new target. This is the type of Arduino you want to use. See the screenshot on where to find the correct menu. In the following wizard select the correct Arduino, input the correct serial port and give the target a name. Now you can hit the compile or run button and everything should work fine.


I hope that helped setting up everything you need for the development of Arduino programs with Eclipse.